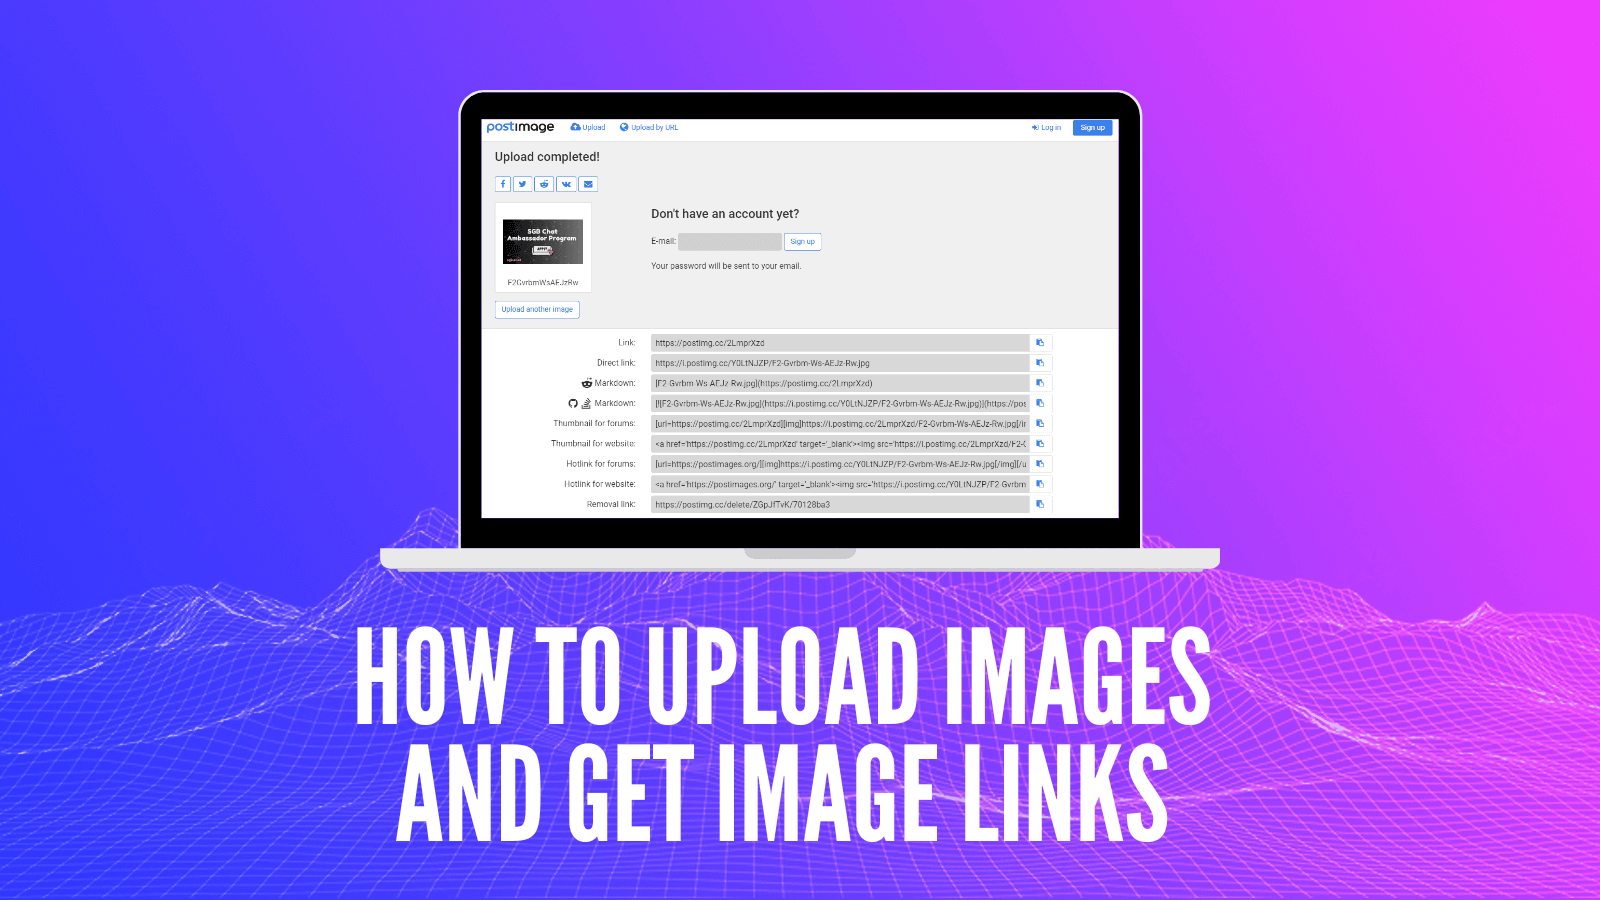
This tutorial will guide you on how to upload images on the internet, so that you can get back an image link/URL.
There are many ways how to upload an image, we’ll take a look at these two:
- Option A: PostImages (the easiest way) - https://postimages.org/
- Option B: Web3 Storage (IPFS) - https://web3.storage/
A) PostImages
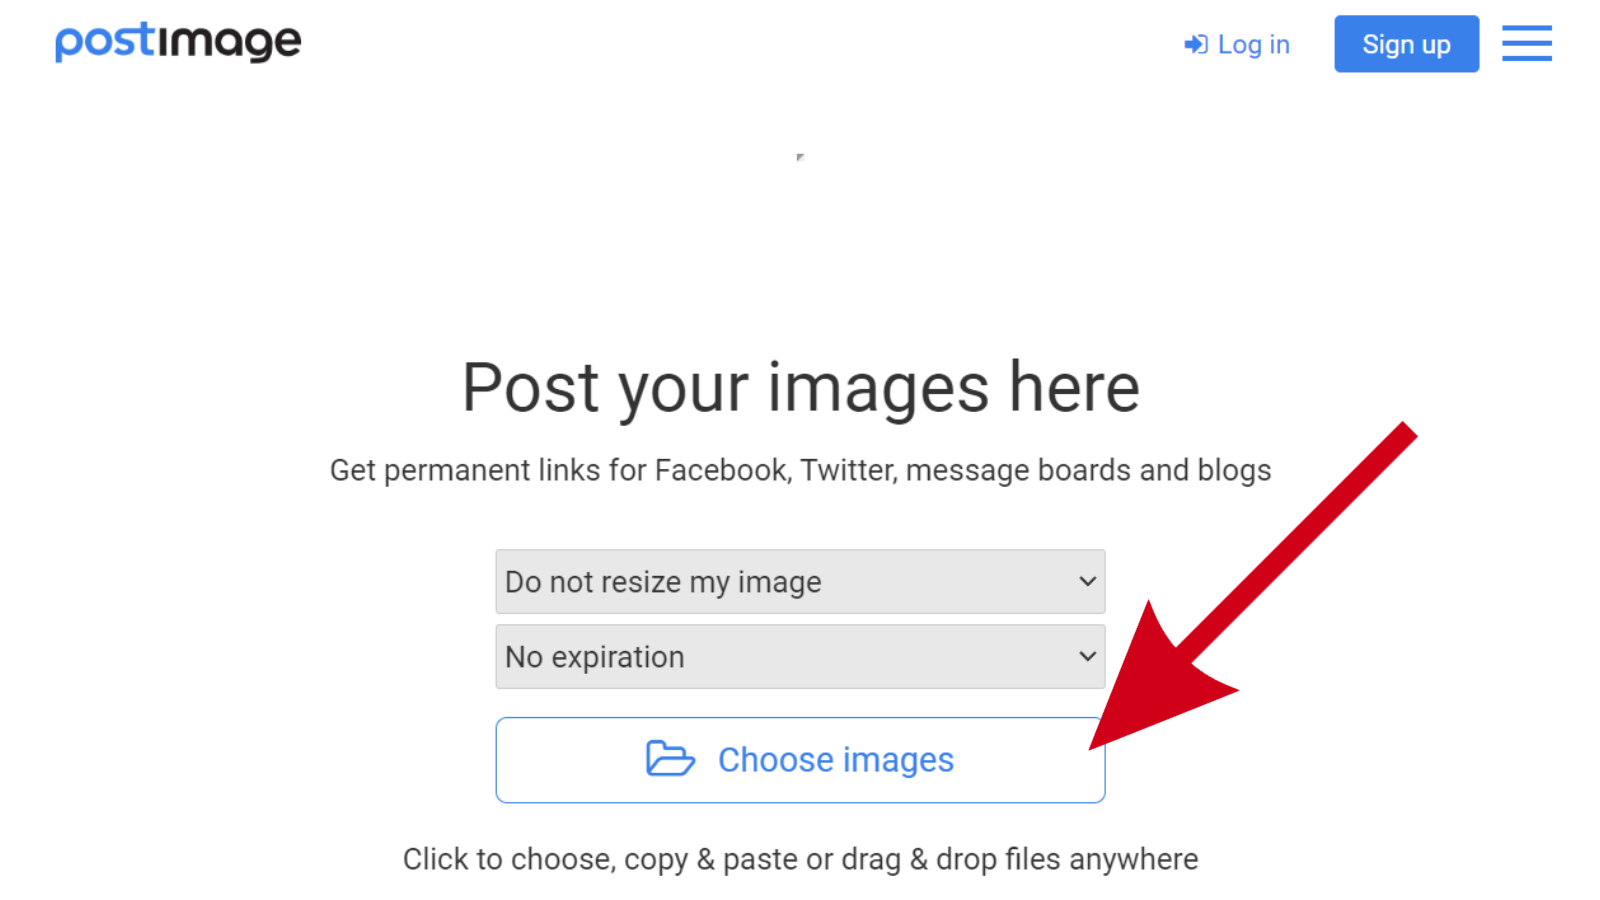
Step 1: Go to PostImages.org:
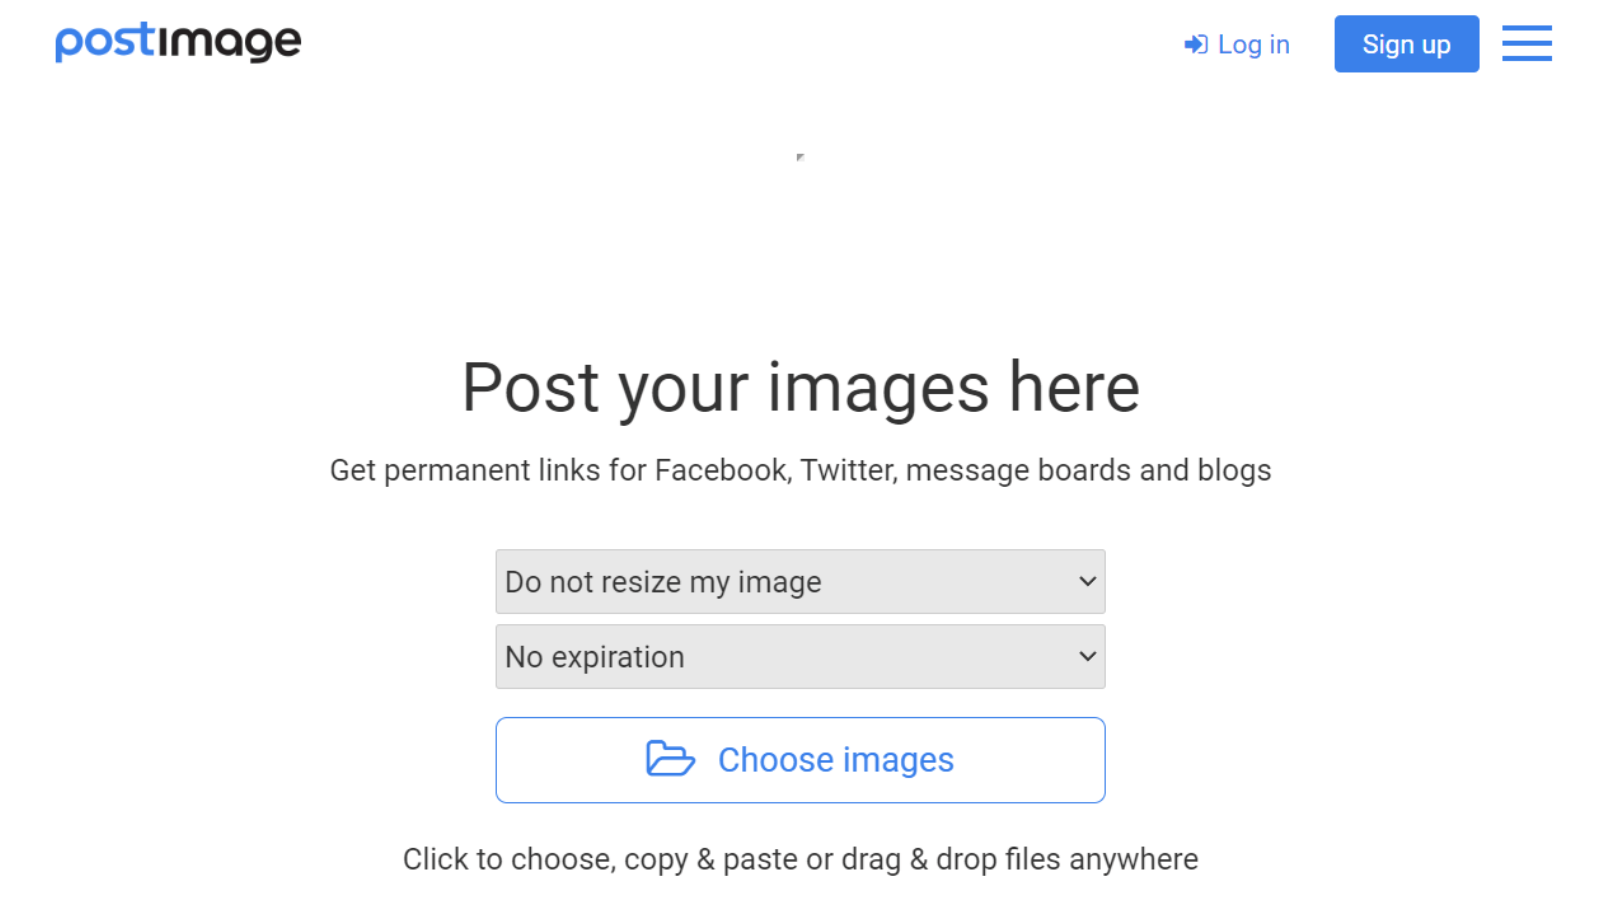
Step 2: Click on Choose Images and pick an image you would like to upload.
Step 3: Now your image is uploaded and you can copy the image URL (Direct Link). It’s the one with .jpg or .png at the end of the URL. 😉
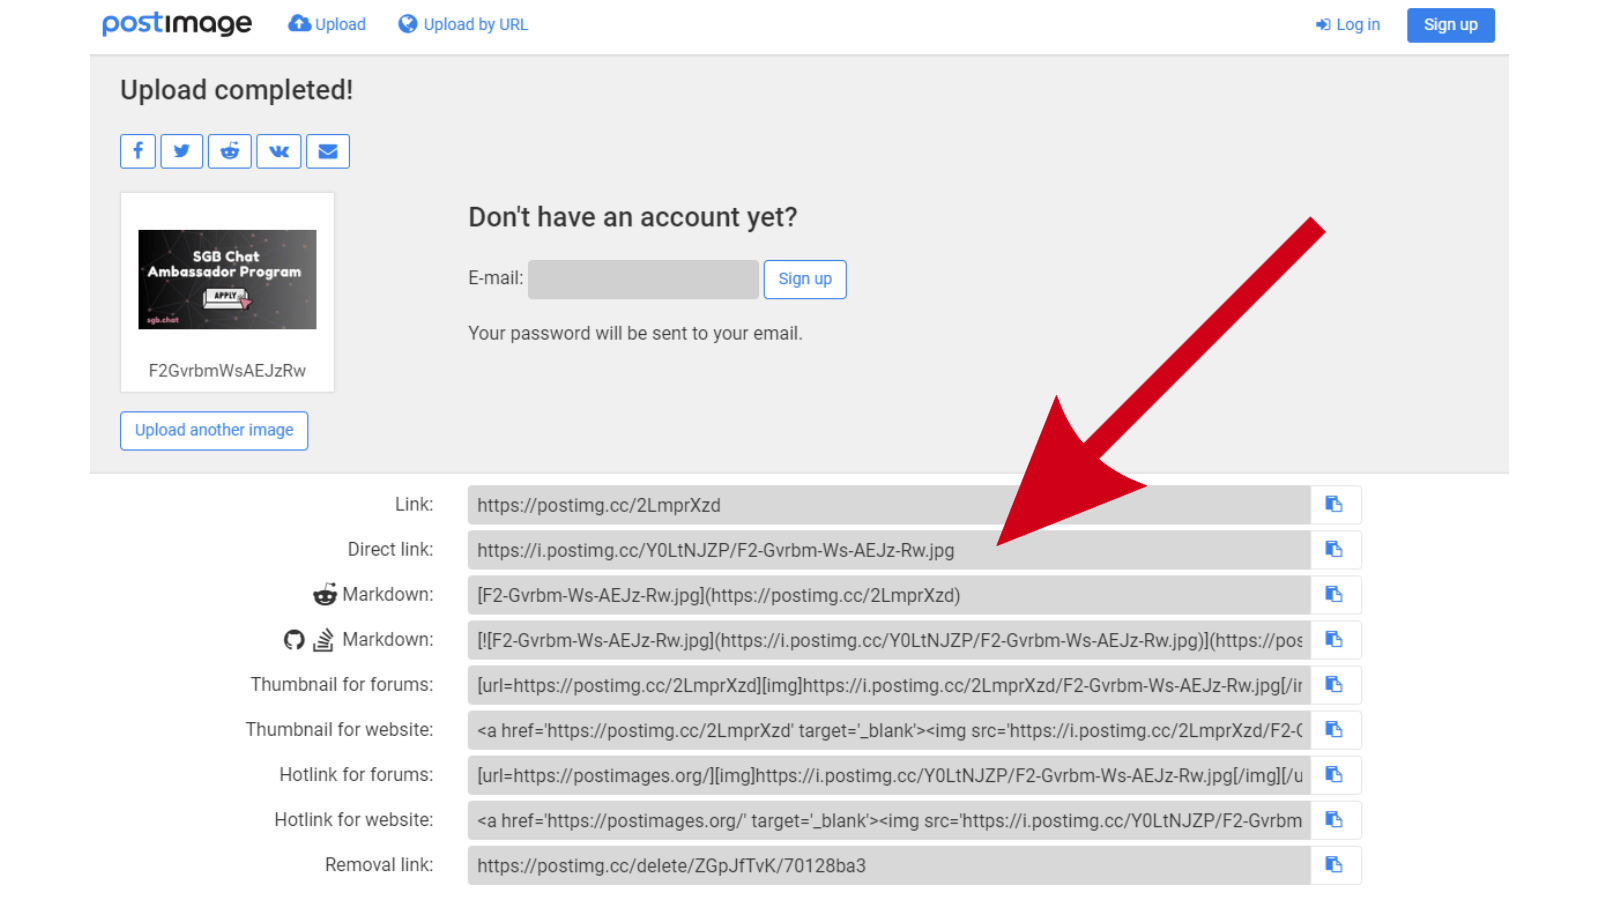
If you uploaded multiple images, select the Direct link in the dropdown:
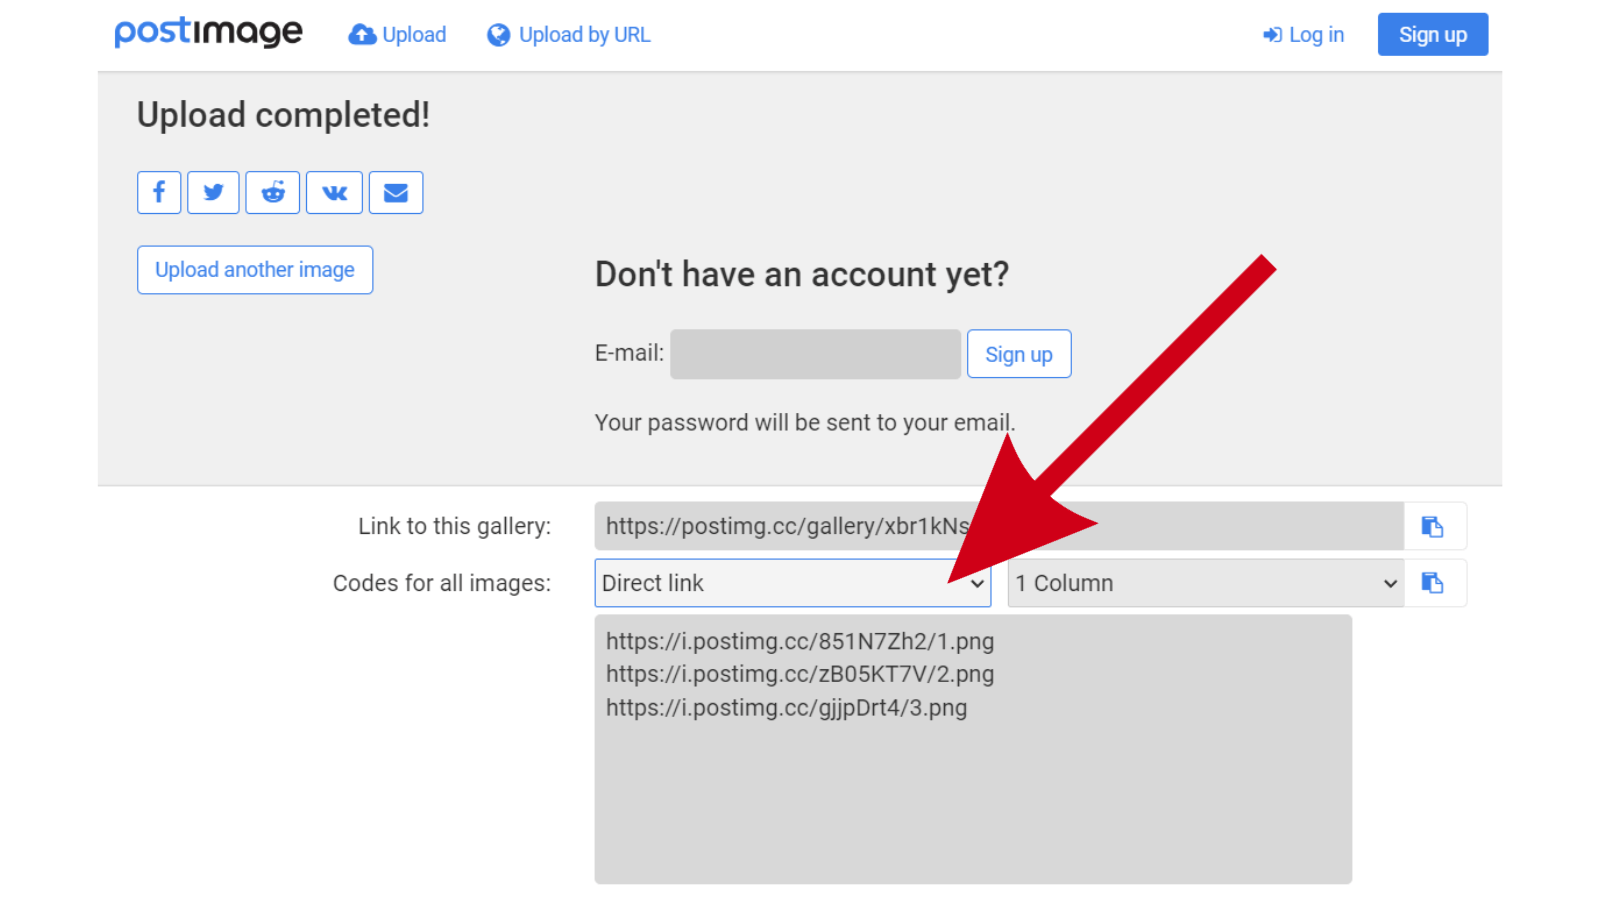
Now you can easily copy each image URL.
B) Web3 Storage
Web3 Storage allows you to store images on IPFS. Let’s see how it works:
Step 1: Go to Web3 Storage website and sign in.

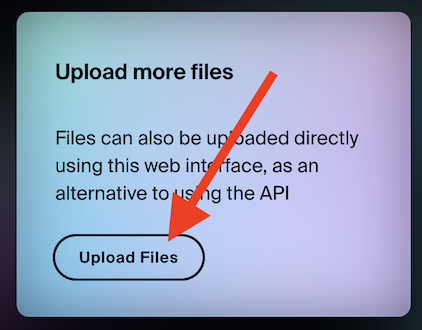
Step 2: After signing in, you’ll see the user dashboard. Click on the Upload Files button.
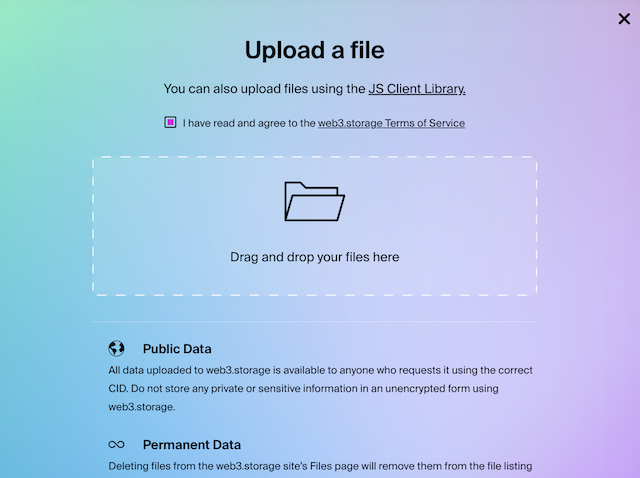
Step 3: Drag and drop your images, or click on the folder icon and find images to upload on your disk.
Wait for the upload to complete (you will see percentages in the list below the upload area).
After the upload is completed, close the Upload Images modal window.
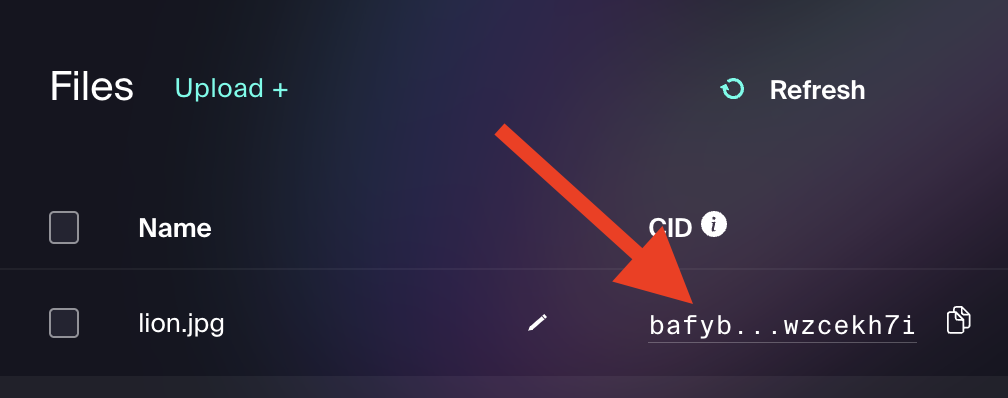
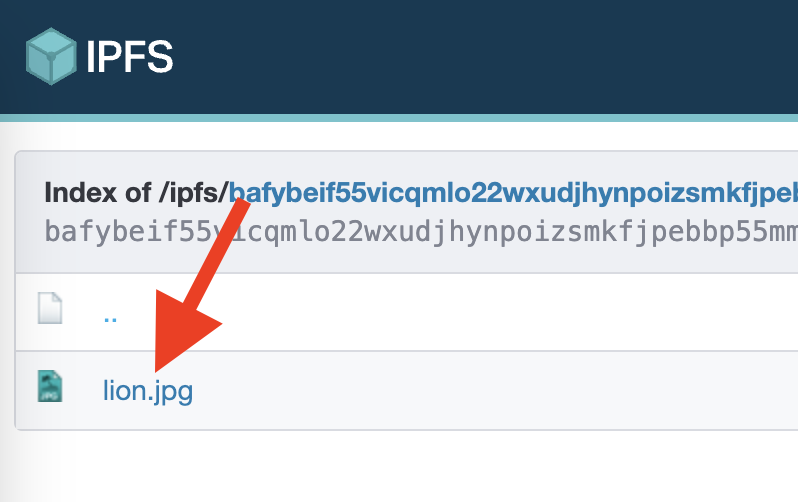
Step 4: In the Files section find your uploaded image and click on its CID link.
Step 5: A new page will appear. On this page click on the link to your image:
Now your image should appear in your browser window.
Step 6: Right-click on it and select “Copy image address”

This is it! Your image link is now in your clipboard, and you can paste it anywhere you want.